Behind the Scenes at the Gemini Theater


We just had our field trip this week and scheduling and planning our field trip this year has been a nightmare. Thanks to all the wonderful snow this winter our initial field trip was cancelled so we were scrambling to find somewhere to accommodate over 100 second graders. We found this wonderful little theater on the outskirts of Pittsburgh. The Gemini Theater had a wonderful staff that engaged our students and interacted with them during the play. {Click HERE to see the Gemini Theater's website}

The Gemini has a wide range of plays and activities that they offer to children of all ages. They also host a summer acting camp that looks very exciting to future actors/actresses.

When we arrived each child was able to receive a "magic scarf" that they used during the play. We watched their interpretation of Hans Christian Anderson's The Little Mermaid. The play focused on taking care of the oceans by keeping them clean and sanitary. The actors also touched upon eating healthy to make sure you feel your best! Both were great pieces of advice.
The crab and little mermaid introducing themselves.

The students looking at the scenery.

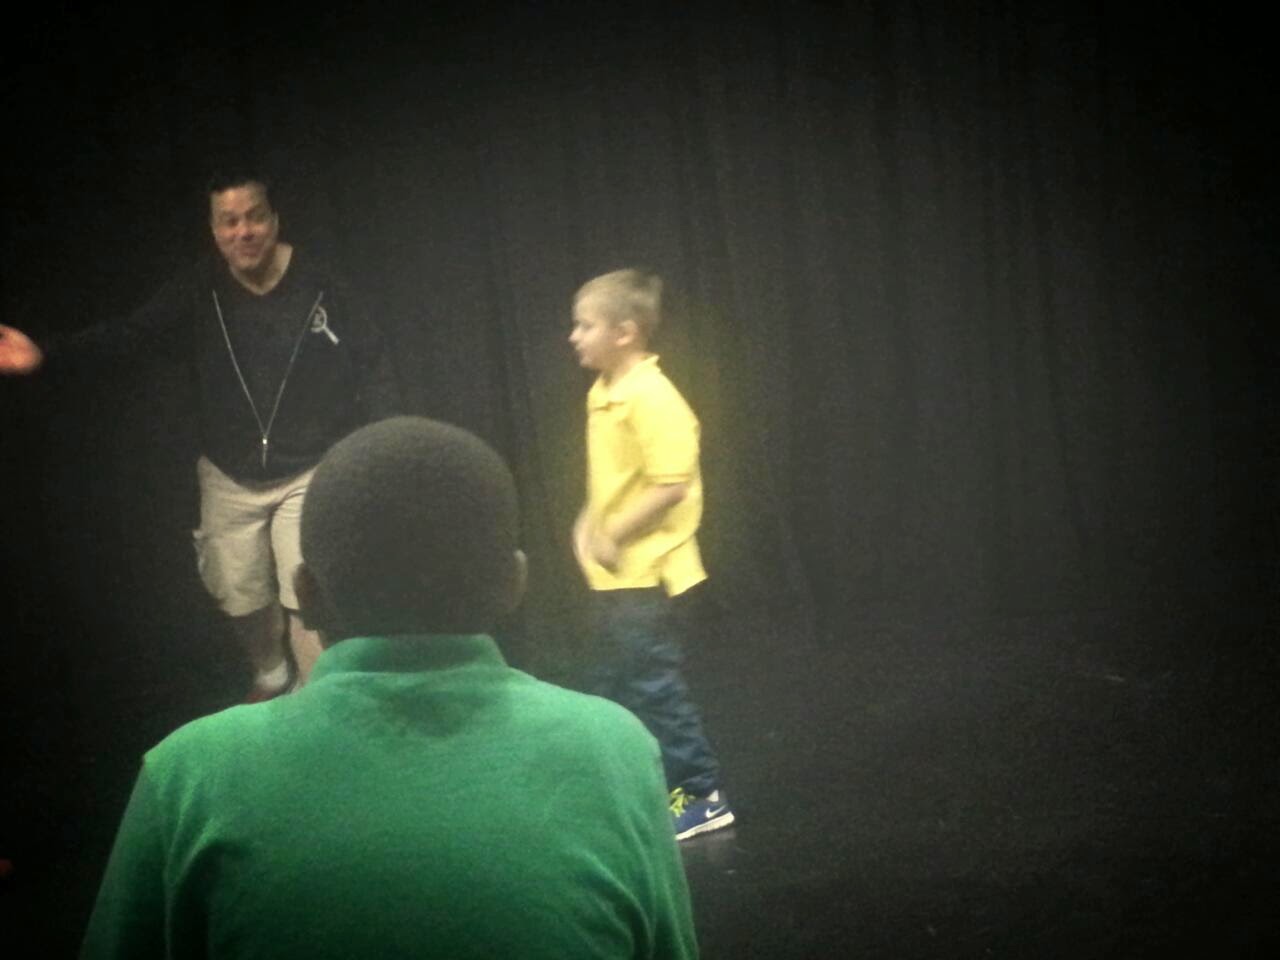
After lunch, the students were able to have a crash-course on acting and using your emotions to express different things. We also had a back-stage tour on where the props and costumes were kept and how the lighting affects the stage.
Walking along the corridors behind the scenes.

Props behind the stage.


One of the actors (Ursula) giving us our tour.

A dressing room.


It was a great cultural and learning experience for the students and they certainly enjoyed their day!
Acting classes


Life Cycles: from egg to chick


Anyone who knows me well enough knows how much I LOVE teaching science in my classroom! We have been discussing life cycles in our classroom {frogs, butterflies, bees, sharks, and chicks}.When I got the go ahead from my principal last fall, I could hardly wait for spring to come. I think this is my favorite activity this year.

Thankfully I have a very accommodating principal who encourages me to include science through my teaching! Originally, I was going to hatch chicks in my classroom. During a recent building move, a former principal of mine discovered extra incubators. We were able to have an incubator for each grade level {Kindergarten, First, Second}.

On my farm, we have 22 laying hens so I gathered eggs {with the help of my wonderful husband!} for 2 days and brought in eggs for all 3 grade levels. Since my classroom had eggs laid on 2 different days, we marked them with stars and flowers to keep them straight.

On the first day we watched a YouTube video on what was developing inside the egg each day. {Click HERE to WATCH} This 3-D video was an amazing way to show the students what is happening inside the egg each day.

We tracked the progress each day on chart paper.
 

Day 1- tissue develops

Day 2- heart forms and begins to beat

Day 3- blood vessels develop

Day 4- limb develops (wings, legs) brain and eye develop

Day 5- elbow and knee develop

Day 6- digits form (beak)

Day 7- beak continues to develop, egg tooth and comb develop

Day 8- feathers develop and feather tracts

Day 9- mouth opening

Day 10- claws begin to develop

Day 11- tail feathers begin to develop

Day 12- scales begin to appear on legs (shank) and feet

Day 13- eyelids are now visible

Day 14- head turns to the large end of the egg for the air pocket

Day 15- gut draws into the abdomen

Day 16- feathers begin to cover the body of the chick

Day 17- head begins to tuck between the legs

Day 18- (IMPORTANT DAY: We stop turning the eggs!) embryo fills space, yolk sac is absorbed

Day 19- yolk sac draws into the abdomen

Day 20- internal and external pip

Day 21- hatching begins


We purchase the majority of our supplies from Tractor Supply but of course they can be found elsewhere. These are the supplies we used in my room to hatch chicks:


**We had success using a desk lamp with a 60 watt bulb and covering a fish tank with aluminum foil in lieu of a heat lamp.**


We read many different books on the life cycle. Many have beautiful photographs of the stages for the students to see. We read this book in class. {Affiliate link Click HERE}

The students completed a writing project on what happens during the stages of the chick life cycle. They wrote a generalization about the beginning, middle, and end. I left the choice of facts up to each individual student. We added the chick popping out of the shell as a creative touch and they are proudly on display in the hallway.

The students also learned about the parts of the egg while it is developing. I created a diagram that was hanging to use as an anchor chart during the process. I also created a diagram of the adult hen as another anchor chart.


We had SO MUCH FUN during this entire process. I think this will be one of those activities the students will remember for years to come. Many students will never be able to have such a hands-on approach to a life cycle from start to finish. There are so many different projects and activities that can be used with this project and best of all it meets CCS for life cycles in 2nd grade! WIN WIN!! We are still waiting for a few more to hatch but so far in 3 grade levels we have 11 chicks!!

What life cycles do you talk about in your classroom? I'd love to hear!!


Spring Writing Extravaganza

When I told my kiddos that we would be writing a lot the last grading period I am not sure if they truly believed me. After pumping out 3 writing projects just in the last week, I think they have a pretty good idea I mean business!

1. Friendly Letter
    We read Kevin Henkes Lilly's Purple Plastic Purse last week and write a friendly letter to Lilly discussing what we liked about her character in the story. The students also wrote what she could have improved upon also. Many chose her reaction to Mr. Slinger and the nasty note! The letters were attached to...you guessed it...a purple purse and I think they turned out adorable.


2. Bag of Good Deeds
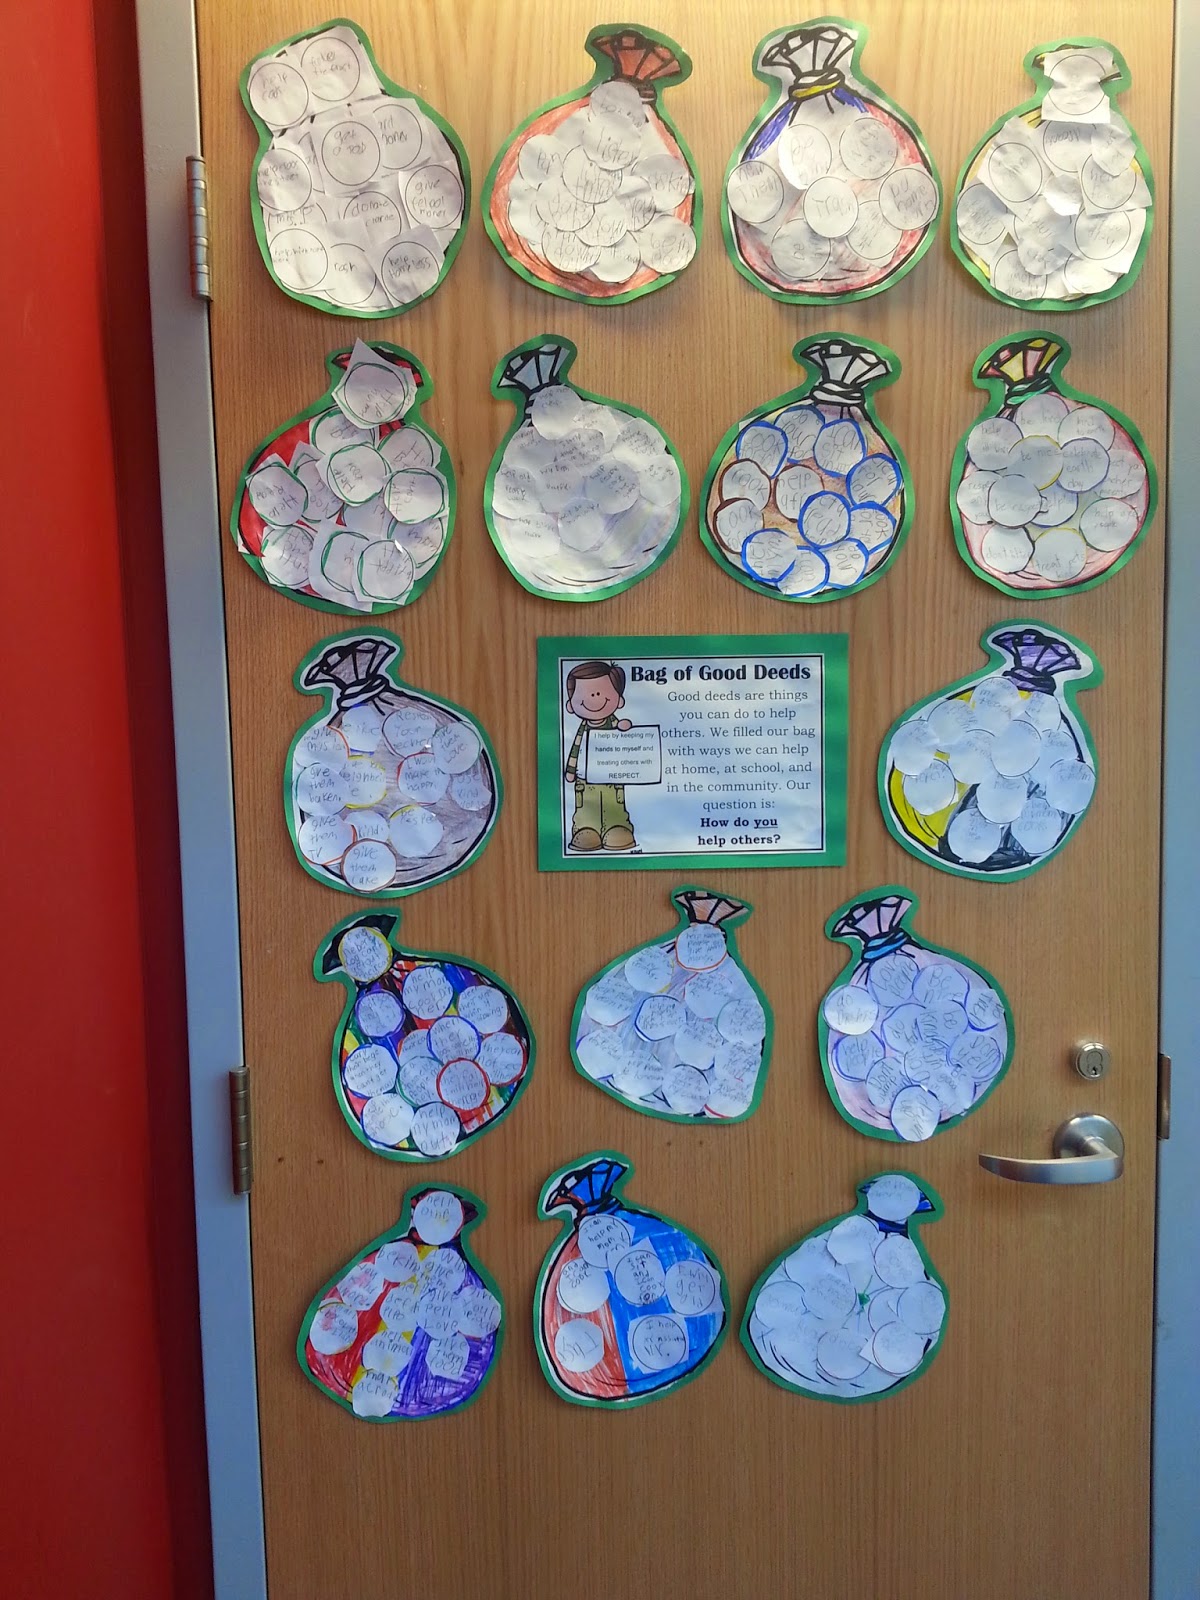
    We are working on a story called Serious Farm in our reading series and we read a story called Sylvia Jean Scout Supreme where the main character is trying to earn a scout badge for good deeds by helping others. We discussed ways we could help others at home, at school, and in the community. The students wrote their ideas on "marbles" and added them to their bag. They are strategically placed on our door as a gentle reminder:) Clever, right?!


3. 21 Days to Hatching
    We are SO excited about the hatching going on in our room. We have about 2 more weeks to go but the kids are on pins and needles. Every day they walk in expecting chicks. I cannot imagine how they will feel when waiting for their own children one day. 3 weeks is nothing compared to 9 months!!! They wrote about the stages of the chick during the incubation and what happens at the beginning, middle, and end. An adorable chick popping out of its shell had to accompany the writing.


4. Acrostic Poetry
    In celebration of National Poetry month and our novel study Charlie and the Chocolate Factory we created an acrostic poem with chocolate. It was a great way to incorporate adjectives {particularly adjectives with senses}.


5. If You Give a....
    There are certain things I miss from my days of a kindergarten teacher and these books are one of them. I wanted to read a few books from this series but beef it up a bit for 2nd grade. We read several books as an example If you take a mouse to school, If you give a moose a muffin, If you give a cat a cupcake before I had them choose an animal of their own. This group of kiddos LOVES to draw and write stories. They had to write a minimum of 8 sentences {you should of heard the gasps and groans at first} but the stories turned out fantastic!


6. On My Easter Egg Hunt...
    Right before Easter, the students were able to create their own Easter egg hunt adventure and decorate an elaborate egg. This was a fantastic way to kick off our own incubation process!

I'd LOVE to hear what you are doing with your kiddos this spring!

Marshmallow Peeps: A Spring Experiment

This time of year the shelves in most grocery stores are stocked with brightly colored marshmallow peeps. I found a recipe to make edible playdoh. {Click here to see the recipe} With only a few ingredients your kiddos can create playdoh they are able to eat. Please be aware this contains a LARGE amount of sugar but in small doses it is quite yummy!


I teamed up with another teacher and in order to make this experiment possible with nearly 50 students, we had to make a few adjustments from the original recipe. The recipe calls for boiling the peeps in hot water. Since we do not have a microwave in our classrooms and couldn't take 50 students to the teacher's lounge, we brought in a roaster and placed the peeps in glass bowls to melt from the hot water. It took a few tries before we figured out exactly how to operate this but we did have success.

The recipe calls for 3 peeps per child. We had 110 peeps for nearly 50 students and still had a decent amount left over.

For 1 recipe you will need:
  • 3 peeps
  • 1 tablespoon coconut oil (I used LouAna from Wal-Mart. Most of the time I use organic coconut oil when cooking/baking but this works just as well. I use this brand on my hair.)
  • 3 tablespoons confectioners sugar (Plus more for dusting)

To create your playdoh:
  1. Melt your peeps in a bowl with the coconut oil.
  2. As the peeps begin to soften and expand, add in the confectioners sugar.
  3. Add more sugar as needed to reduce any stickiness and that's it. Literally, you are done!
  4. We used blue raspberry peeps that made for a delicious aroma and the kids really enjoyed the taste. The coconut oil and confectioners sugar did not alter the taste.


**On a side note, if you notice little black specks in your playdoh it is simply the peeps' eyes. It took me a bit to figure out what was floating around. Apparently, they do not break down like the rest of the peeps!